
Description
Low-cost installation of your current garage door opener as a permanently powered control in your BMW. Electrical and soldering experience required.
Benefits
- Avoids $179 BMW Universal Transmitter and dealer installation
- No major surgery to headliner
- Your remote may perform better (greater range)
- Unobtrusive switch virtually blends into interior
- Wiring to car power eliminates remote battery
- Easy to uninstall and reclaim remote if needed
What you need
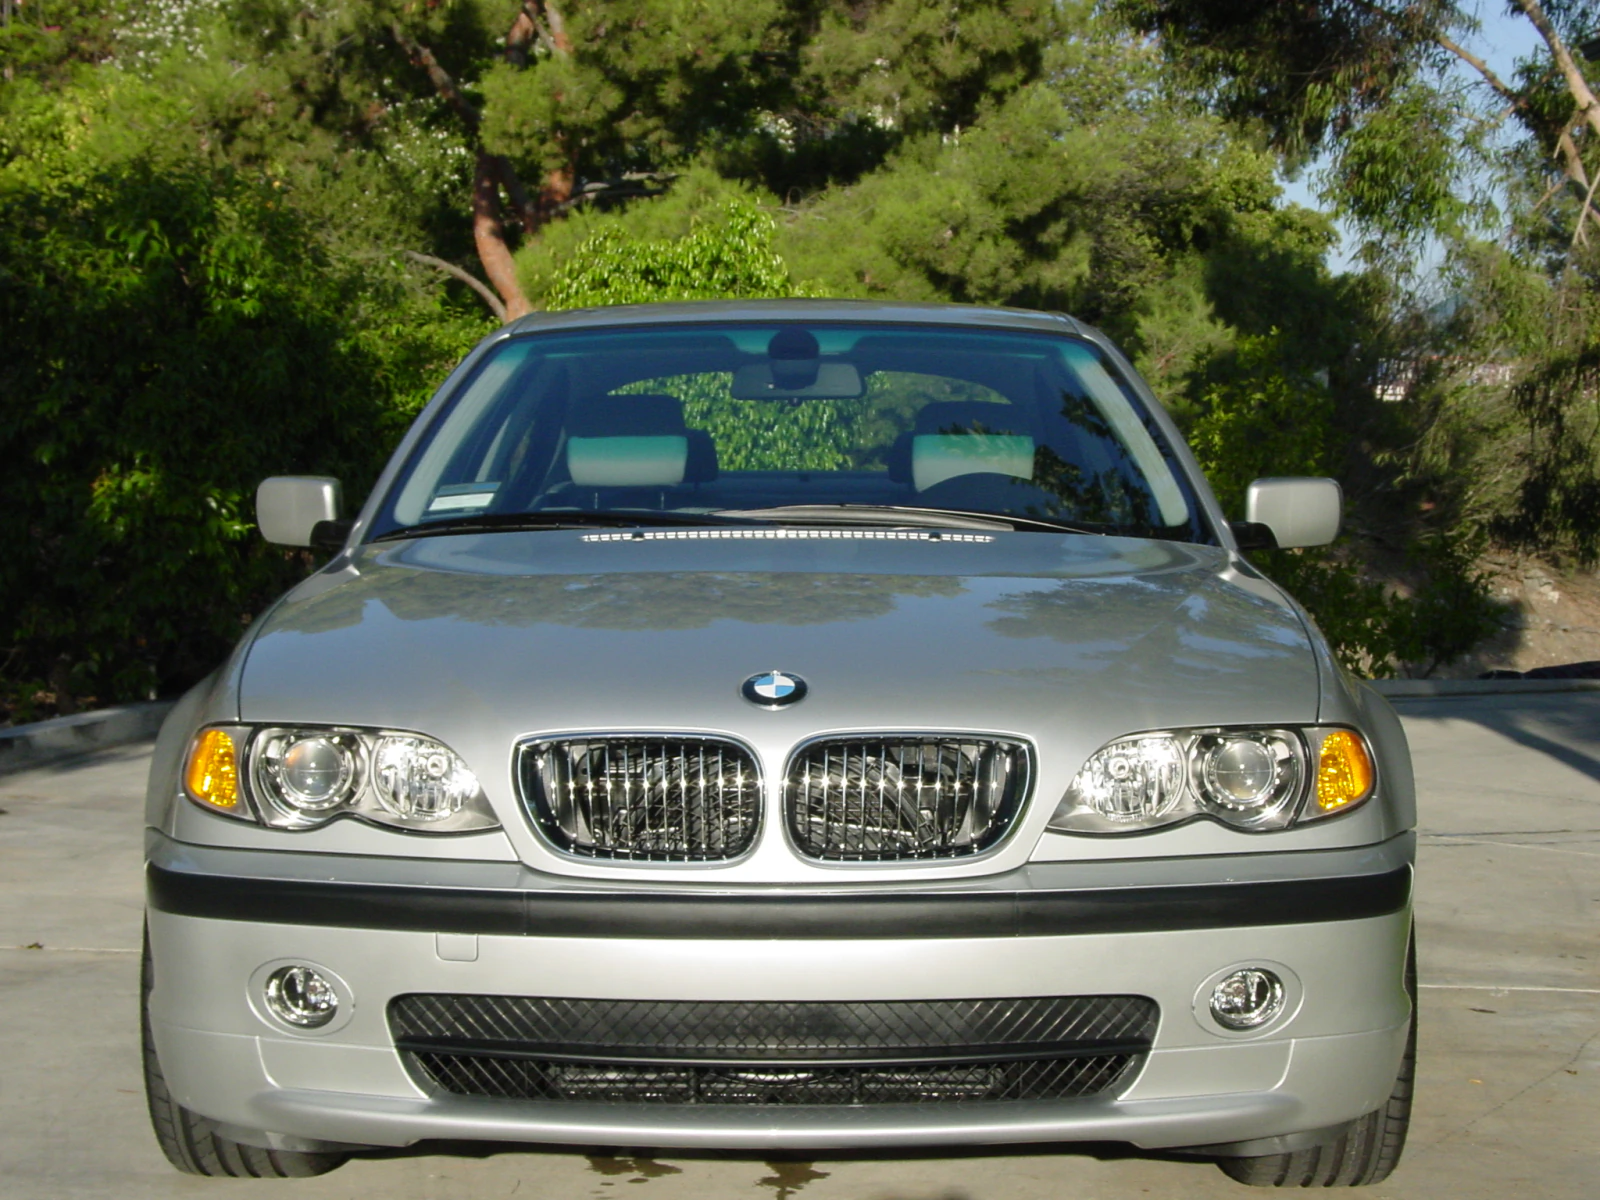
- An awesome 2002 BMW 330i (or equivalent)
- Garage door remote (12V battery type)
- Soldering iron
- Drill and assorted drill bits
- Small pair of wire cutters
- 3-pin male molex connector
- 2-pin male and female molex connectors
- Pushbutton Switch (Radio Shack #275-644)
- Electrical wire, solder, heat-shrink tubing
(Click on images for detailed views)
Getting Started
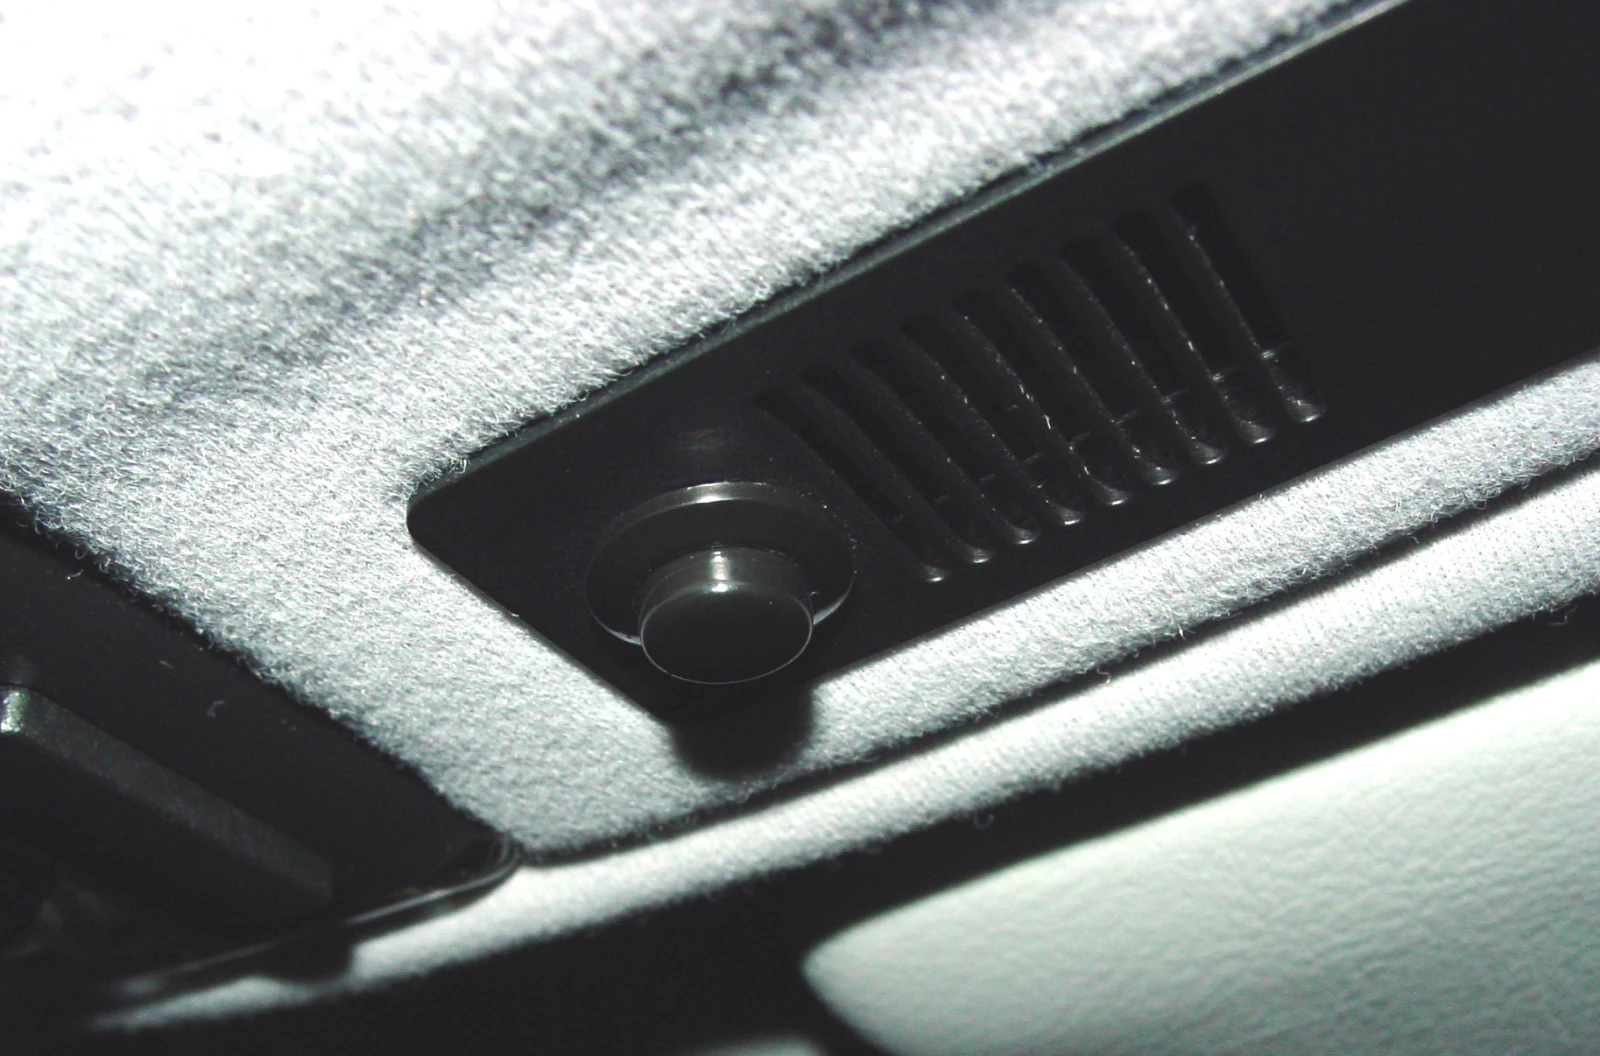
Follow steps 1, 2 and 8 first on this page to remove the headliner cover near the interior lamp, then find the wiring for the BMW Universal Transmitter which you need for only for power. Remove the trim piece for the hands-free microphone. Caution: may not work if you have a hands-free mic.
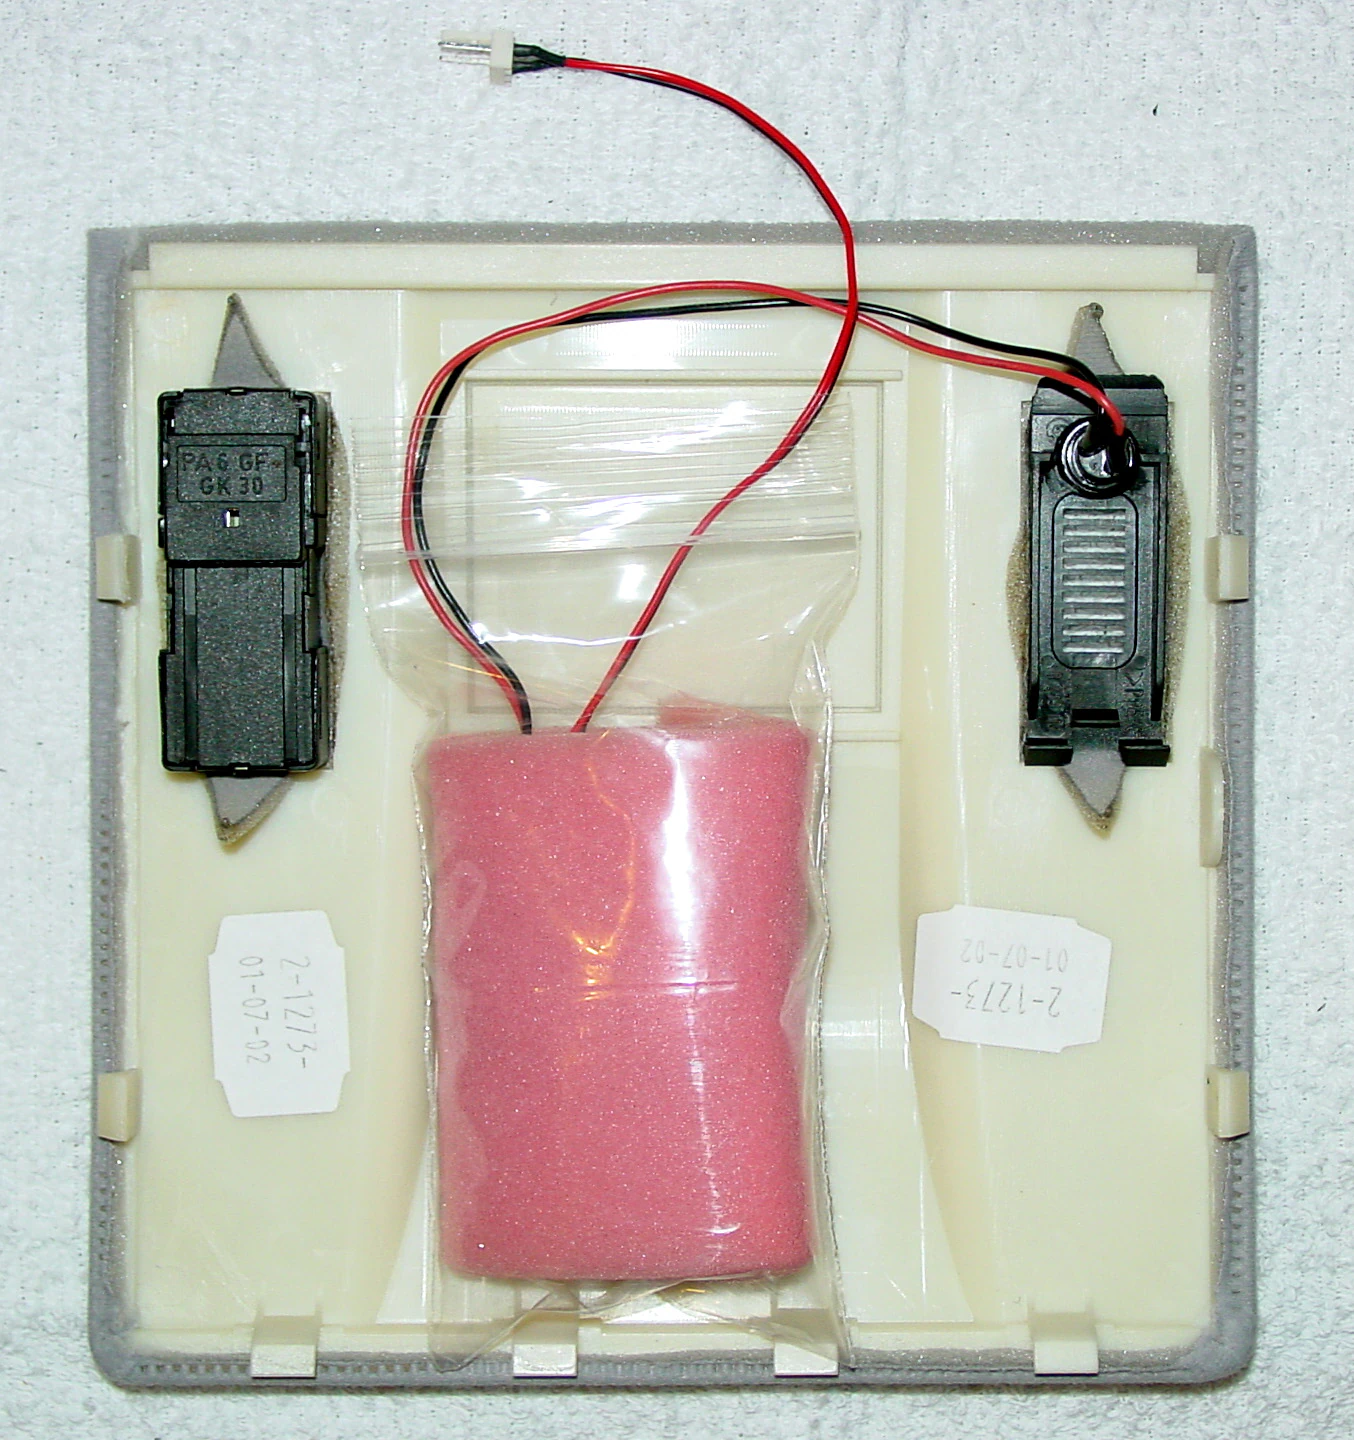
Study your remote
Open the remote and put the plastic housing aside—you won’t be needing it again. Identify the remote’s battery terminals and contact switch. Find the right leads that activate the switch using either a test clip or by shorting with a screwdriver. Caution: the opener will activate if the battery is installed!
Wiring for power
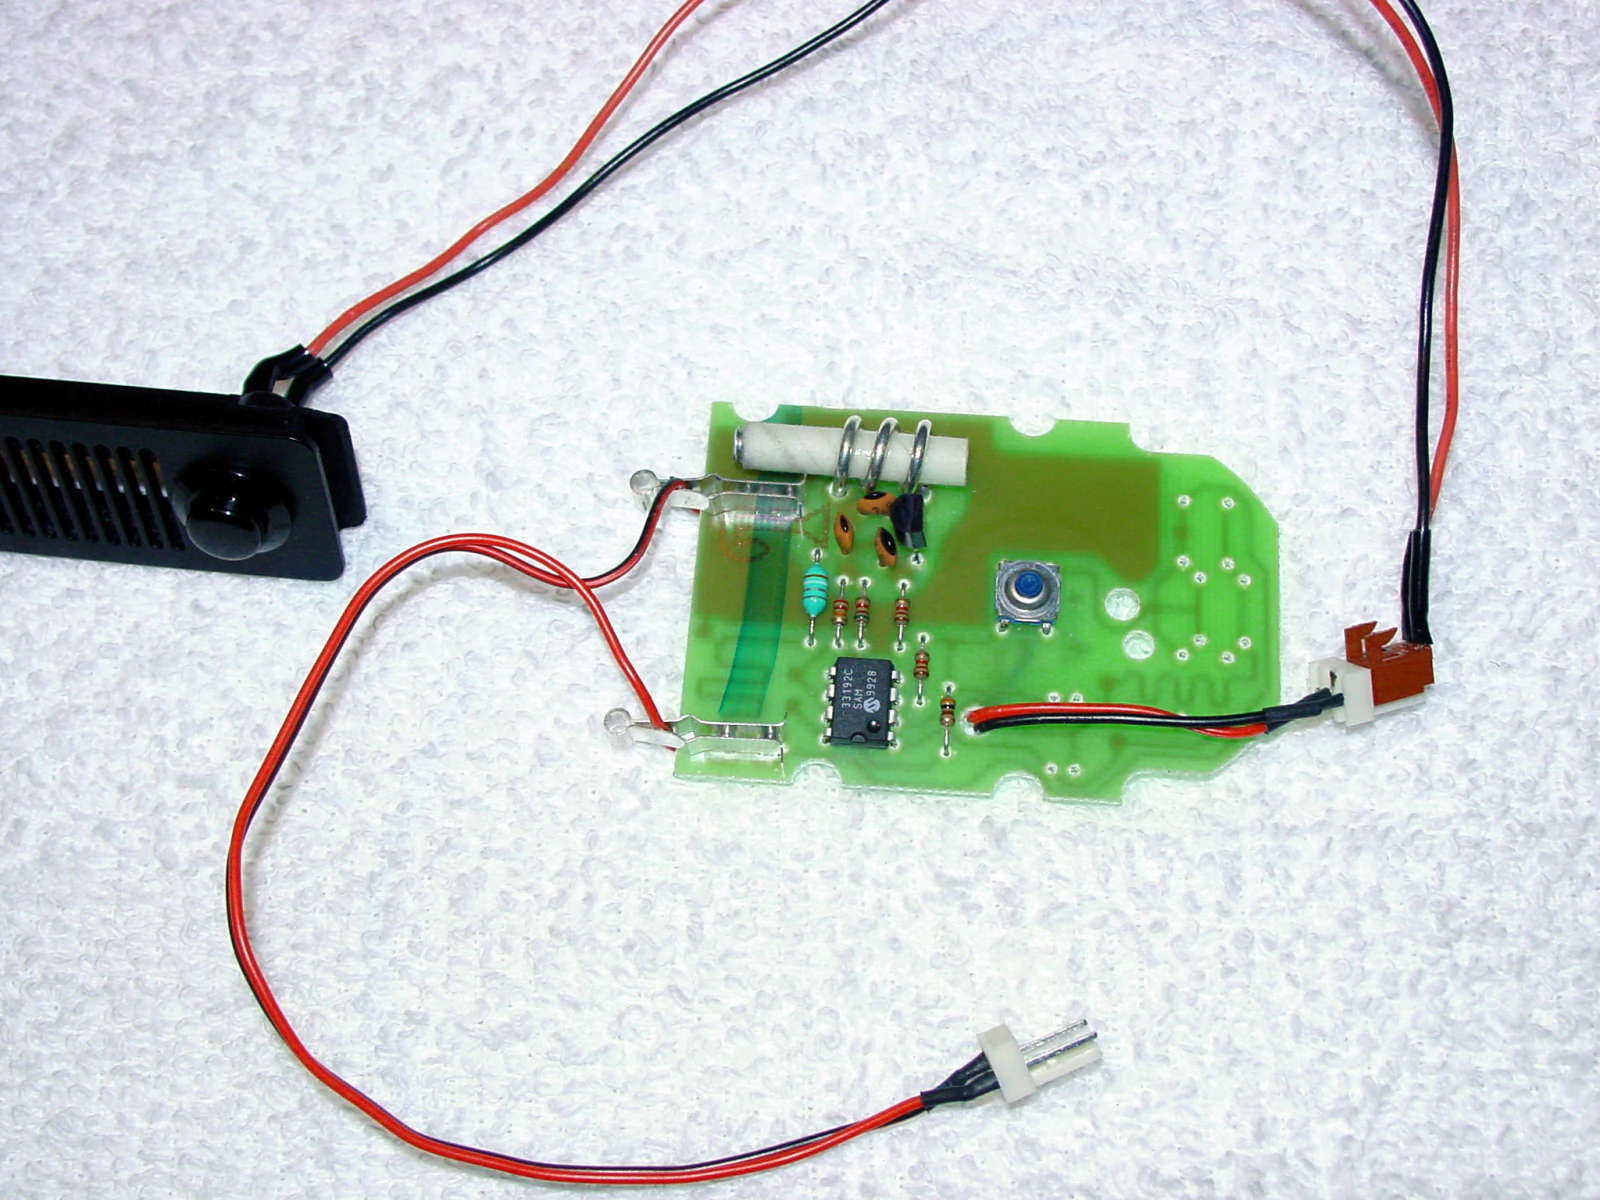
Connect the 3-pin male molex to the battery terminals, as shown. Check the molex fitting with the vehicle’s connector so you get the power wiring straight. The 3-pin female connector in the vehicle has a brown (ground) wire on one side and a green (+12V) wire on the other.
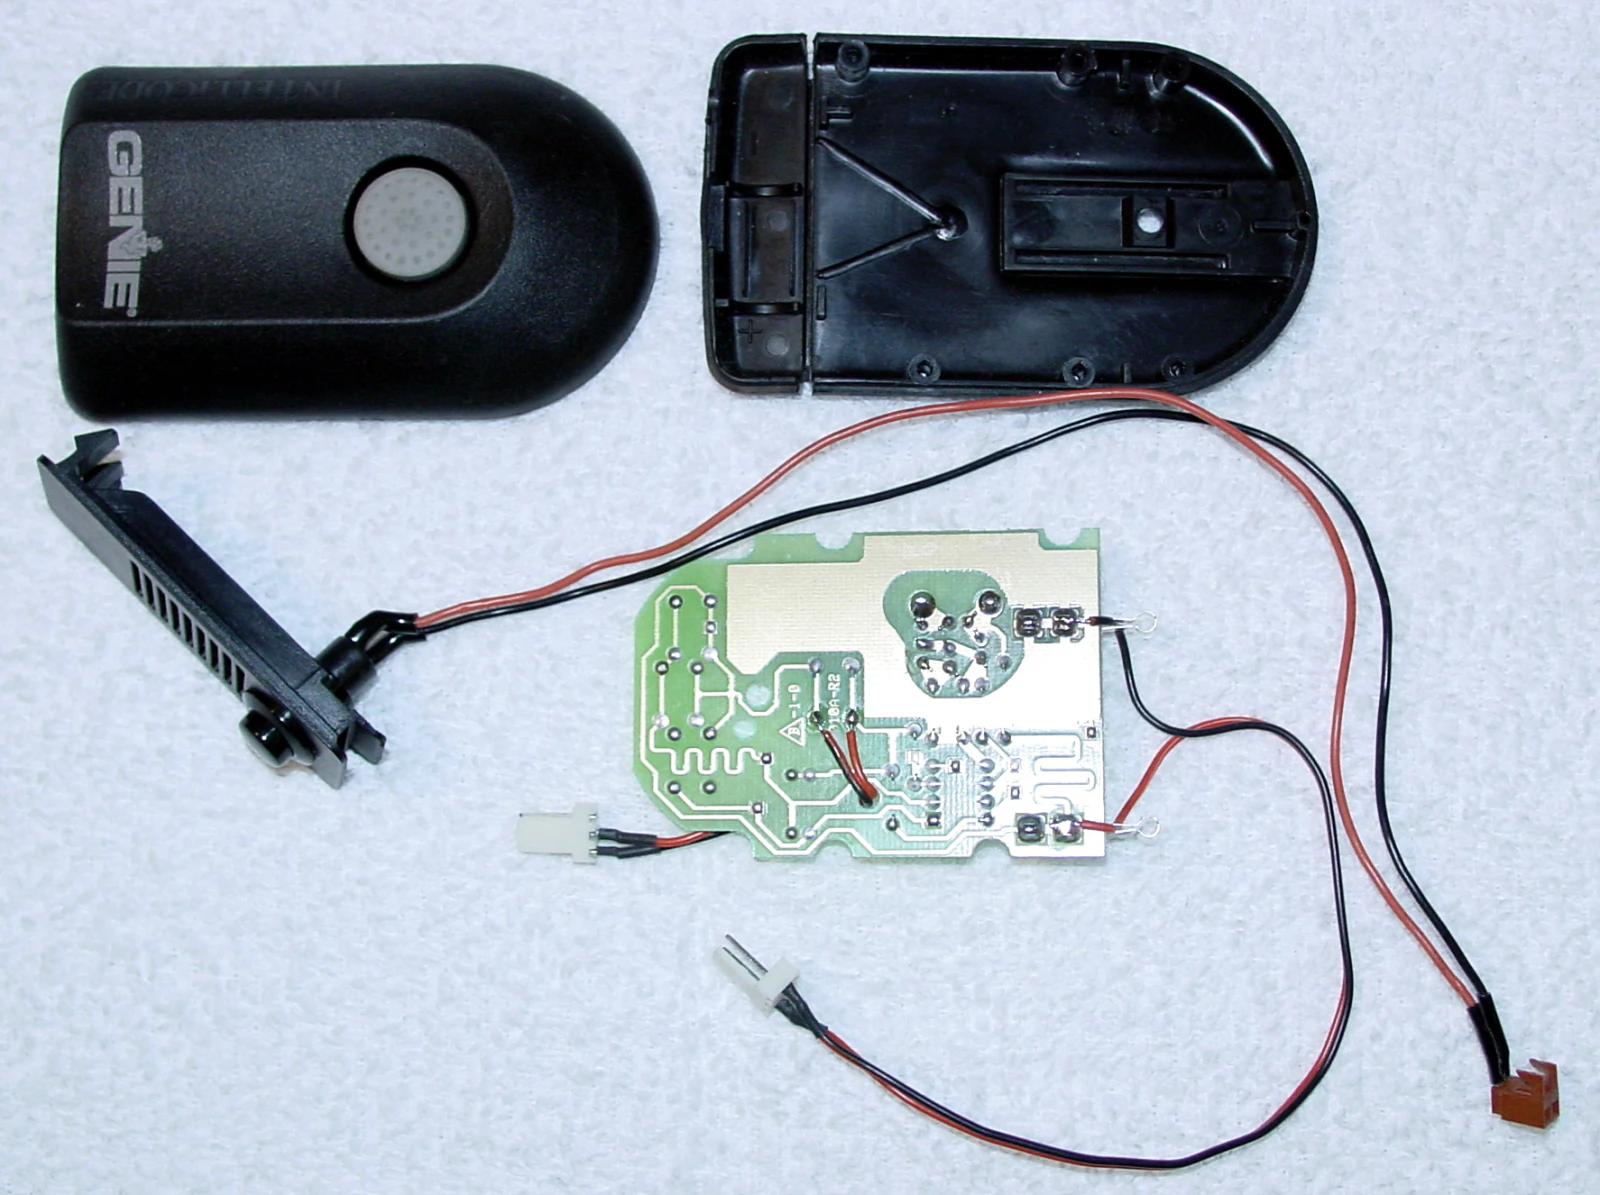
Wiring the switch
Connect the 2-pin male molex to the contact points on the remote’s switch (e.g., see the two wires poking through a hole in the PC board). Solder the 2-pin female connector to a pair of wires, then solder the other ends to the new pushbutton switch.
Install switch
Carefully drill and mount the pushbutton switch into the forward portion of the hands-free trim piece. You may need to nibble away at the plastic on the back side before drilling. Drill only a little at a time, and test until the switch fits flush and snug by itself, as the plastic retaining nut on the Radio Shack switch will not meet the threads. (Bond with silicone sealant or hot glue if you drilled too much).
Test your work
Connect the switch to the remote. Connect the 3-pin male power connector to the vehicle wiring. Insert key into the ignition and turn to position 2. Press the pushbutton switch to verify correct operation.
Install remote
Disconnect the trim-piece/pushbutton switch from the remote and insert it back into the cover. Reconnect it to the remote. Wrap the remote in a thin blanket of non-conducting foam or otherwise dress as needed to avoid rattling.
Make final connections
Connect the remote to the vehicle power and reconnect any other wiring (e.g., sunroof).
Install cover
Carefully reinstall the cover. Test again for proper operation.
You are done!

Enjoy your DIY alternative to the BMW Universal Transmitter!
Trivia
This was my very first blog post ever.